ChickenPinz wrote: ↑Fri Jul 03, 2020 1:34 am
I don't think the drain hole on the underside is going to help much. It's only 5mm and likely very little clearance on the inside. Your best inspection point is to remove the two nuts over the slave cylinder ball-and-socket joint.
All that being said, it wasn't particularly obvious that the failure had occurred on my truck even after half the disc had disintegrated. You might be able to stick a borescope in there, but it's not clear that there would have been any visual warning signs.
The transmission was just out within the last 100 miles or so, and both Jim and Andre saw it and neither saw anything that looked wrong at that time. My take from that is: There are no visual early warning signs. And there was no hard use of the clutch anytime from when Jim/Andre saw it until it failed. Oh, and the truck has about 50,000km/1500hr on it.
All that being said, if you're really worried about a failure on the trail, you could bring a spare disc since a clutch swap is 100% doable in the middle of nowhere with just the on-board toolkit. Me? I'll just make sure I'm with pals who could leave me some water and whiskey while they drive back to civilization to return with a new clutch.
Right now the feeling is this failure was a combination of 40yo disc + overspeed, but I've started a separate survey to collect data on if this is just an old disc issue or if it is a risk with new discs. FWIW, it's not a failure I've seen come up on other 4x4 forums.
This was my first time removing the transmission, clutch, and flywheel on a Pinz, and I wanted to share a few thoughts from an experienced mechanic but one new-ish to the Pinz. Much of these bits of advice and observations have been echoed by others before me:
- You can do this whole job from inside. In the future, all I'd do on the outside is to stack up cribbing to support the rear of the engine, and position another stack about a cm below the transmission to rest it on.
- Inside, put a 5ft 2x4 across the transmission area, and a ratchet strap under the transmission as a *safety* strap. On installation, don't make it snug so you have room to wiggle the transmission back into the pilot bearing alignment. That last part is why I suggest keeping that cribbing slightly low so you have wiggle room.
- After unbolting the driveshaft from the transmission, it steel wires up nicely to an inspection cover hole.
- Do not attempt to replace the clutch disc without an alignment tool as it's a close fit to the pilot bearing. I'm keeping that tool in the truck now in case I need it on the trail.
- If your clutch disc frags, you really need to pull the flywheel to get all the pieces out.
- The flywheel bolts came off with about 5s of MAP/Pro torch heat and a 500ft-lb impact wrench -- both were required.
- Torquing the flywheel bolts was fine with a 2ft bar and spinach.
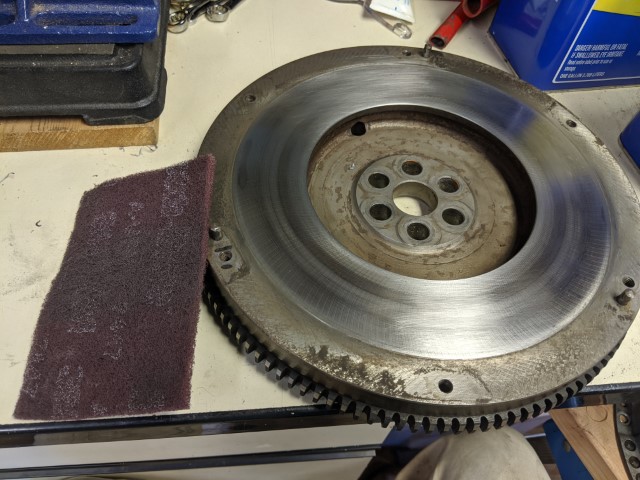
- Clean up (de-glaze) the flywheel surface with a red 3M pad.
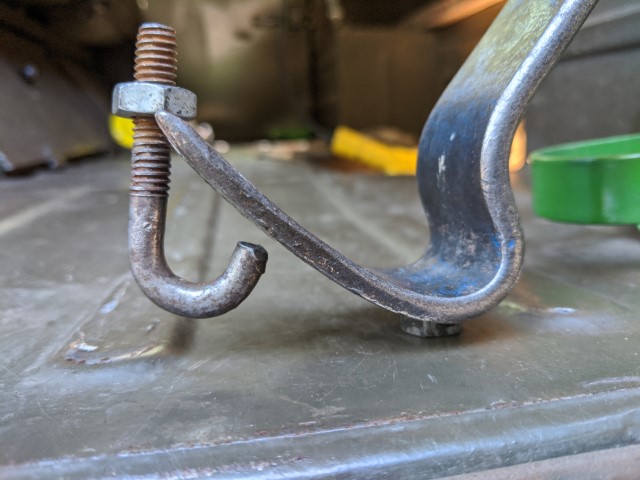
- Pulling the pilot bearing out of the crankshaft was easy with a J-hook bolt and a Vaughn Superbar. To replace, just tap in gently with a large socket as the flywheel installation will push it into place later.
- I just left the slave cylinder push rod float -- it never got on the way and I didn't pull it out of the boot.
- Give that starter drive a little lube while things are open.
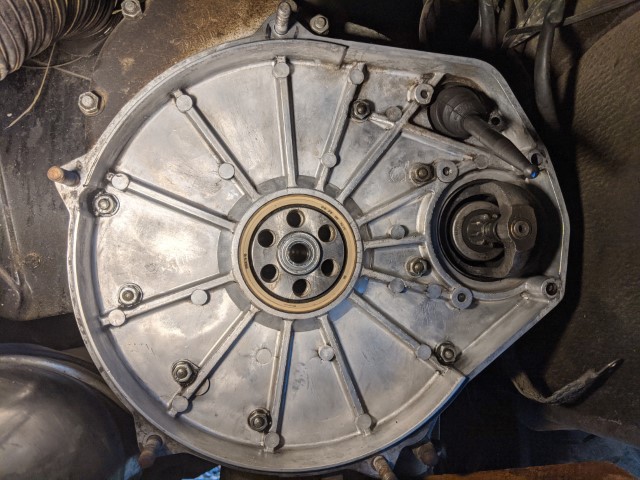
- And...you might as well clean up all the years of gunk while things are apart -- you'll thank yourself later for that.
And most importantly, when you go for that first test drive, remember to take the reduction box out of neutral so you don't scare yourself!


- IMG_20200704_141148 (Small).jpg (84.46 KiB) Viewed 5735 times

- IMG_20200704_142457 (Small).jpg (108.17 KiB) Viewed 5735 times

- IMG_20200704_143005 (Small).jpg (116.08 KiB) Viewed 5735 times


